How to make a Soundproof Box in less than an hour!
I used to live in a small town, and let’s just say that infrastructure is not as good as it should be.

Something that I’m quite paranoid about is a power outage. Put it down to a fear of the darkness or not happy to live without my electrical appliances, and it made me decide to own a power generator, and thus led to me explore how to build a soundproof box for a portable generator.
Even though I work on my laptop, which of course works on rechargeable batteries and doesn’t require a quick power source, having lights and air conditioning in my room was necessary.
In this post, I will discuss tips on building your own soundproof box (or for other purposes too).
I am an Affiliate for Amazon and others, which means I may make a commission if you purchase something through the links here. There is NO extra cost to you at all, and THANK YOU so much for the support. Learn more here.
Related: Cheapest way to soundproof a basement ceiling
Contents: Skip to section
Importance of Soundproof Boxes
This wasn’t possible without arranging a backup power generator, but then, it makes really loud noises. When I managed to get one and let it power my home for the first time, my mother was quite annoyed by the intensity of the sounds it generated that she asked me how to build a soundproof box.
Even guests and some friends visiting our home also commented about the racket, which led me to soundproofing the entire power generator itself.
So the question is, when and why use such boxes?
Soundproof boxes can come in handy when you have to cope with noisy appliances, and they can take basic shapes like just a cardboard box.
The foremost reason for using soundproof boxes is not to disturb or irritate someone who might be your neighbour, your family member or in some cases, even you yourself.
Surprisingly, it’s not only the humans who get bothered by loud noises: insects, birds and animals also flee away by such disturbances.
As an example, loud noise is the prime reason why you’ll never see an airport built near a forest.
Before going on, you should take note though that you cannot fully soundproof a generator for the simple reason that it requires air ventilation for cooling, which means leaving holes in the box. The most effective way it to greatly reduce the noise so that it does not become bothersome.
Related: Best Quiet Blenders Review
Who can benefit from making a soundproof box?
If noise begins affecting the workflow or the peacefulness of your surroundings, it becomes the villain of the show and therefore, it has to be shut down.
There are also several applications of a purpose made box, such as for a generator, a dog crate, air compressors and many more.
In my case, it was obvious my workflow was being affected.
The only solution you are left with is cutting down the sounds.
A soundproof box is mostly used for appliances that are loud, which of course play an important role in your home, office, laboratory or wherever you are.
Examples of such appliances include sonication machines, water pumps, air compressors and power generators etc.
Therefore, the only people who get to encounter the noises coming from such appliances tend to require soundproof boxing.
However, ‘recording microphones’ require a different category of soundproof boxes.
Machines that emit extreme decibels of sound waves need boxes that can retain the sounds within, whereas devices like microphones require boxes that may keep noises and unwanted sounds away.
Related: how to soundproof a garage
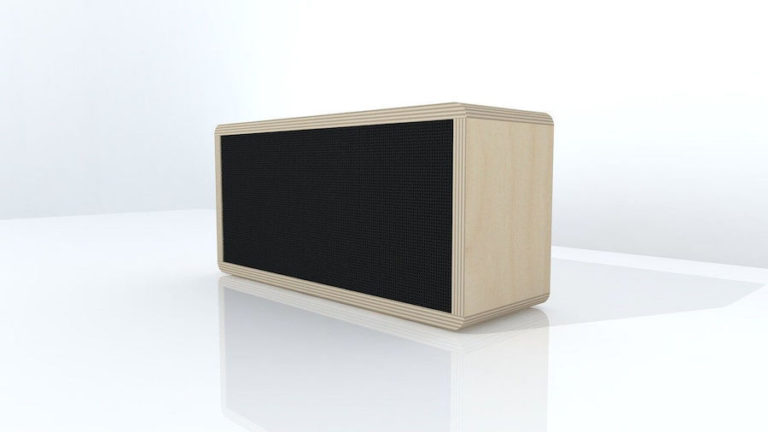
How to build a soundproof box for a portable generator in 11 easy to follow steps
As I’ve mentioned earlier, soundproofing a box depends on the appliance you’re making it for.
I’ll put forth the same methods I personally used for my portable power generator as it possesses a very generalized boxing structure.
There are some things you need to bear in mind before, during and after the making of the box.
Firstly, keep in mind that it’s impossible to achieve 100% blockage of the sounds.
Devices generate heat when they work and obviously, the heat needs an airflow to be carried away otherwise the device might become dysfunctional, or might catch fire in some cases.
So offering an airflow to the box equally means offering the sounds a channel to escape as well.
Secondly, do some research for your procedure online other than this method also. This will broaden your approach.
There are some tools and soundproofing materials to build a generator soundproofing box:
- Right angle ruler
- A few papers and pencils
- Screws and nails
- Some ventilation ducts
- A measuring tape
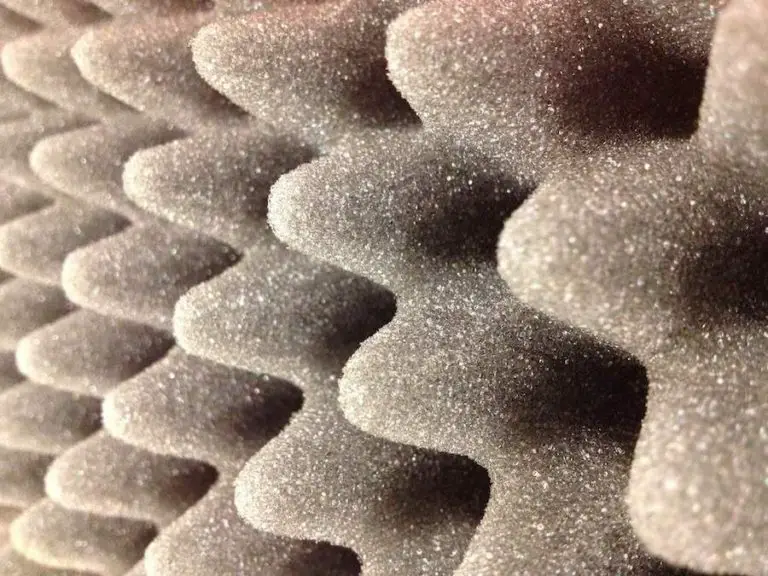
- Foam mats
- Gorilla Heavy Duty Spray Adhesive/ Acoustic Caulk
- Green Glue
- Hammer and Screw-driver
- Mass Loaded Vinyl (MLV)
- Medium Density Fiberboard (MDF)
Some other material that you can consider using:
- Old shag carpet
- Egg carton boxes
- Foam rubber
- Soundproofing foam or acoustic foam
Related: 6 Common Soundproof Materials For Your Home
Step 1: Take some measurements
Generators usually come in many different sizes, but most are pretty large. This means you will need to build a sizeable soundproof generator enclosure to contain it.
In the event that you are trying to soundproof smaller items, you can choose to use plywood instead.
Take the measurements carefully and note them down on some paper.
You should be careful about taking measurements because they make up the basis of the end result.
Do add about 2 inches to your interior measurements to accommodate the ventilating ducts and for the two layers of insulation as well.
Related: How to soundproof your bathroom
Step 2: Cut the fiberboards
Bring in the fiberboards for cutting. Draw the marks with pencil or marker on the boards as guides for cutting.
You may use any kind of saw (table saw, circular saw etc) where it can do the job for you perfectly.
Step 3: Create ventilation holes
After you’ve attained the right sizes of boards, measure the diameter of the ventilating duct you’ve arranged for this mini-project.
Accordingly, cut a hole in the board that is supposed to be the ceiling, and it is better to make it on one side of the top board, rather than right in the middle.
Make another hole in a wall board that will be positioned opposite to the hole in the ceiling board.
Step 4: Install a layer of vinyl insulation
Layering is the key to blocking sounds, and the most ideal is when you can have multiple layers, such as different materials and air space.
Installing the mass loaded vinyl is the first step and is very critical.
You will need to ensure that the measurements are accurate and fit onto the boards exactly, making sure that there is no overlap.
Glue the vinyl onto the insides of the boards using “Gorilla Heavy Duty Spray Adhesive”.
Step 5: Caulk the edges of the vinyl insulation
Edges don’t tend to stick well.
It is much better if you caulk them to make them stick perfectly.
Green glue is a very good option because it won’t just stick the edges only, rather it is itself a soundproofing agent.
Step 6: Install the second layer, foam mats
As described earlier, layering is the key to blocking sounds.
You need another layer of insulation, this time, of foam mat.
Use the same measurements as the vinyls, cut them accordingly and glue them down upon the vinyls using the same Gorilla glue.
Repeat applying green glue on edges.
Step 7: Join them all together

Put together all the walls and ceiling; and nail them together using screws or nails.
Installing hinges might be a good idea but that requires readjusting the vent hoses.
Step 8: Install vents and vent ducts
Ensuring that there are outlets for the hot air to escape, otherwise you risk the generator overheating and eventually malfunctioning.
Install the vents in the generator and attach the venting ducts to them.
Remember, sound travels in a linear fashion. Therefore, you must use more bends to the duct which may break the sound as it passes through.
Step 9: Testing of the box
This is the final step if your first attempt comes out to be perfection.
Testing something immediately after making it is a wise step because you have all your stuff in the exact places you want in case of readjustments.
Additionally, you’re already motivated and in the flow of things.
Step 10: Make adjustments (if required)
If, unfortunately, you find some error, go about readjusting it.
Assuming you followed the steps to the T, you should have many changes to make.
In the worst case scenario, you might have to recreate a portion of the box.
Step 11: Take pictures of your handiwork!
No explanation requirement for this step right!
Related: How to make your PS4 quieter
Recommended Gear
Recommendations are like gems when you’re going to begin something you have no idea about.
Minor tools have a vast variety of options to choose from obviously. But I do have some suggestions for the important stuff.
Click on the images to check their pricing and specs.

Fiberboard: Any fiberboard of medium density would be fine. There are wood brands that have precise qualities of woods. For this project, my recommendation is.
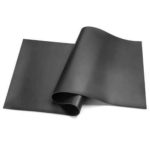
Vinyl: I recommend buying the Mass Loaded Vinyl produced and delivered by “Second Skin” which was available for a really good price for such a high quality product.

Gluing Agent: “Gorilla Heavy Duty Spray Adhesive” is easy, quick and effective to use. The results are quick and they last for a very long time. You can use them for almost all kinds of home improvement projects.
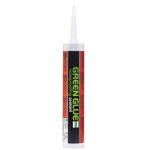
Acoustic Caulk: A cousin of mine once suggested that I use “Green Glue” made by “Green Glue Company”, for stubborn parts which don’t tend to just glue together. Although it is pricey, surely you would want to have a good performance and not worry about it not sticking. It also has the added benefit of stopping sound leaks.
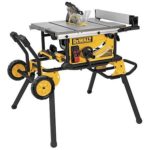
Table Saw: There are so many projects around the house that can make use of a table saw, and it can be an essential piece in your workshop. Dewalt is one of those brands that have been a leader in home improvement and this particular model is a proven workhorse.
Ready made generator box
If you feel that you are not up for it at the moment and prefer a fast solution to a loud generator, you can consider buying a ready made generator box instead. They are especially useful when you have a temporary requirement that requires soundproofing, or you can even bring it with you if you go camping.

Obviously, this method will not be perfect as there isn’t really any generator soundproofing materials involved, but it does help muffle out some sounds, which should be enough for the duration of your activity, plus it keeps the generator safe from the elements.
If you want a more robust solution, you might consider the Zombie box for generators, which claims to be the first of its kind, and reduces up to 75% of the noises from machines or generators.
Frequently Asked Questions (FAQ)
How long will the box remain functional?
Well, it depends on various factors.
The build quality, material quality and position of the box. If you place the device and of course, the box outdoors, sunshine, dusty winds, rainwater, snow, heat and cold will combine to damage it slowly.
Keeping it indoors will be a better option for longer functionality, especially if it can be placed in a separate building, further reducing the noise and impact it creates.
Which devices can soundproof boxes be used for?
They are used for loud devices like power generators, water/motor pumps, ultra sonicator machines, boat motors and air-compressors etc. Microphones have the opposite requirement because they demand sounds to stay out rather than inside.
How do acoustic and soundproofing differ from each other?
Acoustics include controlling the sounds that generate within a space/room and preventing them from echoing. While soundproofing is the process of noise reduction from passing through membrane to an undesired spot.
What makes Green Glue so good?
It is a noise damping compound which is visco-elastic in nature.
Applying it within two membranes may enhance the soundproofing capabilities of the membranes by effectively joining them close and having a soundproofing nature itself as well.
It destroys the sound waves passing through.
Green Glue is the most thoroughly tested and used damping compound on the market and it is so versatile that it can be used on floors, walls and ceilings.
How to make a soundproof box: Conclusion
Learning how to make a soundproof box can be beneficial for you in many ways. You won’t have to pay someone extra money, saving you a ton of money.
This article only covers just one example of a box.
There are plenty of other methods that you can find, including some that are on a budget, but I can safely say that this is the simplest and cheapest one out there.
Hopefully you will enjoy the benefits of the soundproofing tips and improve your quality of life.
When you are done, show it off to the ones who complained most about noise, like I did!
Other interesting reads:
- How To Reduce Floor Vibrations? 2 Different Solutions That Works!
- Are White Noise Machines Safe?
- How to soundproof a skylight? Easy methods that work
- Sound Deadening Curtains: Do They Actually Work? See 5 That Does
- Soundproofing effectiveness of bricks and more
- How to soundproof a plywood wall? A look at 5 budget and 3 premium methods
- Why Does My Laptop Sound Like a Jet Engine? Easy Fixes
