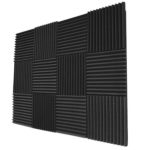
How to soundproof a garage? 6 easy steps to get you started
Consider this for a second about soundproofing your garage.
You want to give a more personalized look and feel to it.

Soundproofing and rethinking lighting conditions within your garage are your top priorities in the investments you want to make for your garage.
Soundproofing lies at a higher level in this priorities list because you are worried about the distractions that incoming sounds can cause to the project you will carry out at your garage, as well as sound disturbing your family and neighbours.
After all, soundproofing is not only a gesture of respect to your personal territory; it is also a productivity tool that comes in handy when you don’t want external sounds to distract you from working on your projects.
Plus, you have other reasons to opt for soundproofing your garage.
- You want to keep living in your home. (This is especially true if you intend to carry out high-pitched projects in the garage.)
- You want to keep neighbours from knocking down your door. (See above!)
- You want your housemates to sleep (or work) in the house without distracting sounds.
- You want to stay away from incoming sounds from the house or the street.
- You want to stream videos in the garage with poor audio devices. (Well, in that case, please invest in audio devices, damn it!)
- You want to improve acoustic quality at your garage for making it suitable enough for a home studio.
- You want to practice your skills for public talking.
I am an Affiliate for Amazon and others, which means I may make a commission if you purchase something through the links here. There is NO extra cost to you at all, and THANK YOU so much for the support. Learn more here.
Related: Cheapest way to soundproof a basement ceiling
Contents: Skip to section
Are you a Hobbyist?
Forget about this article if your garage is not your personal territory.
This article will serve you best if you are a hobbyist who is immensely committed to your interest.
If you are willing to put in some extra effort (and money) to make working on your hobby a little more joyful and result-oriented.
And if you want to improve the working conditions at your workstation, this article will help you a lot with soundproofing works.
You are not among those folks who use garage only as a residing place for their cars. Heck, your garage is not even as idle as a storeroom.
Your garage is more than that! It’s your recreational room. It’s the heart and soul of your hobbies. And you want to keep it that way.
You want to keep it as comfortable and passion-inducing as any well-deserving project room. This is the biggest sign of your personal space in your house and you are hell bound to respect its true nature.
Also, if your goal is to convert your garage into a recording studio, these soundproofing steps have gotten you covered.
Related: How to make a soundproof box
How to Soundproof a Garage- The Foolproof Way
Step 1: Create a plan
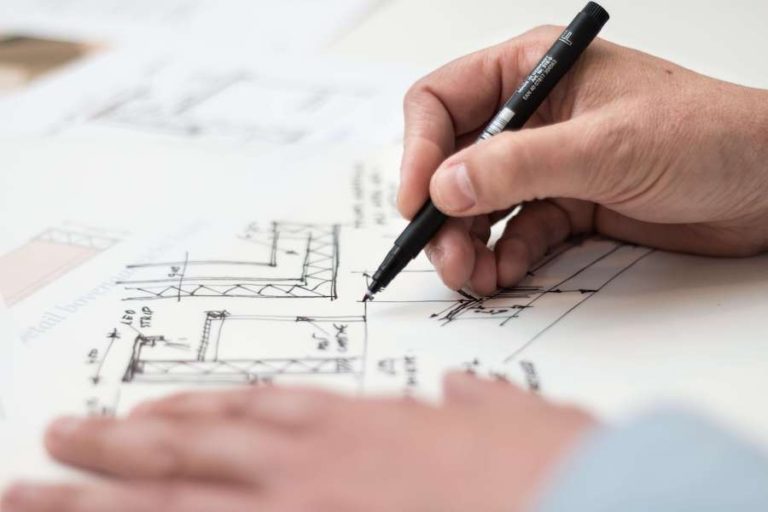
The first step is to understand your requirements, the opportunities and needs present within your garage.
The purpose of soundproofing will determine its intensity.
For example, home studios and heavy mechanical works would need intense sound reduction.
If your projects do not emit lots of sounds or your primary purpose is to block out incoming noise, go for lighter more cost-effective insulation materials.
Similarly, set aside a bigger budget for a larger garage. Another feature to understand is the construction material present in the walls.
You would need more and higher quality material if your garage has hollow walls.
Again, if you indulge in extremely noisy work, you will need to soundproof not just your garage’s walls but also its doors and windows.
Thus, another question which you must answer in the planning stage relates to the insulation of doors. Take note of the main door structure.
It is easiest to insulate it if it swings to open. On the other hand, roll-up doors are most difficult for soundproofing.
Finally, for home-based studios, the soundproofing of the ceiling and floor is an added investment.
Once you have defined your soundproofing goals after considering all these factors, create an inventory of all the material and time you need.
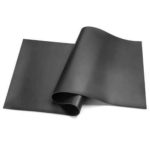
For your doors, you can choose between door sweeps, soundproof blankets, and mass-loaded vinyl (MLV).
And for windows, consider replacing them with a wall or acoustic panels. Or you may consider inserting a window plug to get better results.
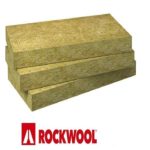
The best soundproofing for walls comes as acoustic mineral wool.
However, if you are lucky enough to have concrete walls in your garage, you can keep the budget low by adding acoustic panels, blankets, or MLV superficially.
Related: How to soundproof your bathroom
Step 2: Consider the safety aspects

Although most material that goes into soundproofing is safe, there are a few that can irritate the skin or small injuries. It’s especially true if you are using rubber door seals.
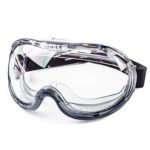
The best precautionary gear to DIY your garage soundproofing is to wear safety gloves. Combine it with safety goggles if you are highly risk-averse.
Step 3: Start with soundproofing the door

Why am I writing about soundproofing a door before other parts of the garage?
It’s simply because doors are the biggest pathway through which sound waves can travel. Oh, and don’t forget the complexity they offer for soundproofing.
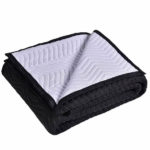
While swing-out doors can be easily insulated using door sweeps, you may need acoustic blankets or mass-loaded vinyl (MLV) to block the sounds from escaping through roll-up doors.
MLV is better than blankets because:
- You can use them as individual strips, and
- They are better are sound reflection (they don’t absorb sound waves).
- They are flexible and can allow your car to move in and out of the garage without interruption.
- Start with measuring the width and length of the door. Add an inch in length for folding around curtain rods.
Cut the MLV accordingly (and if you want, cut it into strips). If these are blankets, you may want to use ready-made fiberglass blankets.
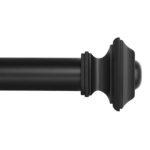
Install a curtain rod above the door. You may want to keep it longer than the door’s width to allow free movement of the strips.
In case you use acoustic blankets instead of MLV, you will need to remain committed to their maintenance as these blankets quickly absorb dust and fumes.
Wash these blankets once in a week or every fortnight.
Hang it (or its strips) on the curtain rod.
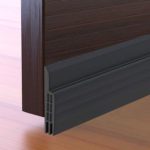
If your garage has swing-open doors, door sweeps will be enough for their soundproofing. These door sweeps are easier to install once you have measured and cut them.
All you have to do is to stick it on or screw it in the door.
Step 4: Soundproofing the windows

Soundproofing the windows is much easier than soundproofing the doors; however, if you have a lot of glass in the garage, it is a critical part of your soundproofing project as noise escapes easier from glass than bricks.
The best way to soundproof a window, especially if you don’t use it much, is to replace it with a brick wall.
But it may not be a valid solution since most of us would prefer to have a window in our garages.
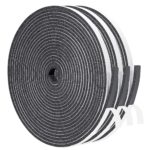
In the case where you want to keep your garage windows, you can use weatherstripping tape to block air traveling from below these windows.
Another method is to install a window plug that will stay there for months if needed and can be taken off when required.
Manufacturers produce window plugs from foam and other porous materials. You can add soundproofing quality by adding acoustic panels atop it.
Step 5: Soundproofing the walls

I am discussing the step of soundproofing the walls later because of the relative ease that goes into it.
However, if your garage comes with hollow or thin walls (and if you decide to install insulation material within them), this step may prove to be the most complex.
The best strategy to soundproof a wall, like with soundproofing any other parts, is to add weight to it. The heavier the wall becomes, the less sound will pass through it.
If your walls are hollow or thin, you should start with reconstructing them hands down. This reconstruction should add weight to these walls and provide effective barriers to escaping noise.
Use acoustic mineral wool or fiberglass acoustic panels to ensure that not a single sound wave travels out of your garage without permission. (Acoustic mineral wool is more efficient in insulating sound energy than fiberglass as the former presents a higher STC score.)
If your garage has stud walls, all you have to do is to measure and cut the panels (or wool) according to their size. Use aerosol adhesive to keep them in place. Once you are done with this installation, you can cover the studs with drywall.
Although it is advised to keep these panels (mineral wool) thick to enhance sound insulation quality, you would want to keep them within the studs or else they would lose insulation quality when they get squashed while installing drywalls.
Also, do take note that installing insulation within the wall can be hazardous because of its heavy parts, meaning you should wear protective gloves while installing it.
In a case where you are dealing with concrete walls, you can opt to use superficial soundproofing materials instead of taking out the whole wall.
Your best bet is to use acoustic panels get the job done.
Keep in mind that these panels are great for soundproofing; however, they fall short of completely blocking out the noise.
You may also choose to use moving blankets or MLV over garage walls especially if your soundproofing needs are not intense.
Related: How to make your PS4 quieter
Step 6: Soundproofing the ceiling and floor
You may want to soundproof the ceiling and floors to improve the overall acoustics of your garage. These sound insulations are especially required when you want to carry out activities which create excessive noise within the premises.
Consequently, home studios and heavy mechanical work within the garage will definitely require you to include ceilings and floors in your soundproofing considerations.
In case your soundproofing needs are minimal, you can exclude these parts from your soundproofing endeavor.
Like walls, ceilings and floors can also benefit from acoustic mineral wool or fiberglass installation.
For cheaper investments, consider installing acoustic foam or panels. The best features of these foams and panels are their ease of use and affordability.
Recommended gear
Here is the extensive list of material you can use for soundproofing your garage. Click the images to check the prices and their specs.
Mass Loaded Vinyl (MLV)
Acoustic Mineral Wool (Rockwool)
Aerosol Adhesive (Gorilla Heavy Duty Adhesive)
Frequently Asked Questions (FAQ)
How much will soundproofing a garage cost?
The answer to this question depends entirely on your needs and space. Typically, garages will take anywhere between $1000 and $2000 with acoustic wool installation costing at the higher end of the range.
How much time does this project take?
You can complete the task in a day or two. The actual time span of this task may become longer if you have to start the installation from scratch. For example, if you are preparing the acoustic panels yourself, you might have to spend a few hours on cutting and finishing them.
Do I need an extra pair of hands for soundproofing my garage?
Although you can carry out the task on your own, enlisting help will make the process easier and more efficient.
Does soundproofing a garage require expert skills?
Well, I am no expert, and I have managed to do it myself, so I am pretty sure you can too.
Is this task dangerous?
Soundproofing is a pretty straightforward task, and since there isn’y any heavy machinery or power tools involved, it should be considered quite safe.
However, you should use safety gloves and goggles to deal with screws and acoustic panels.
Conclusion
To soundproof a garage can be a huge investment if not in terms of time, then in terms of expenses.
Consequently, proceed with care so you are not wasting your precious time.
The best advice is to get help!
Enlist your army!
It is easier for those planning for a home studio. But you can also get the desired help for your workstation plan within your garage. Look at your friend having similar passions.
- Plan and gather the required materials.
- Remember, safety is always first.
- Measure, cut, install, and repeat.
And once you are done, don’t forget to celebrate the workstation/home studio you have created.
Additional resources:


