How to soundproof your bathroom: A private place
Imagine you’re having a few guests over when nature calls and you enter your bathroom only to realize that they’re about to hear anything and everything you do inside.
Every splash, every flush or even the slightest cough.
This sound problem is only amplified if the bathroom is adjacent to common living areas such as dining or TV rooms.
Modern construction doesn’t account for any of these so bathrooms are usually the noisiest places in a home.
If you’re looking to soundproof your bathroom to block the noise coming from your porcelain throne, then look no further than below.
I am an Affiliate for Amazon and others, which means I may make a commission if you purchase something through the links here. There is NO extra cost to you at all, and THANK YOU so much for the support. Learn more here.
Related: How to soundproof a dog crate
Contents: Skip to section
What methods can help to reduce noise in the bathroom?
While bathroom time can be an embarrassing moment for many people, it doesn’t have to be since there are many easy, affordable ways to prevent similar scenarios from happening in real life.
Some soundproofing techniques may be able to help keep external noises out as well, allowing you to sing in the shower to your heart’s content without distractions and irritating others.
There are several ways to begin soundproofing your bathroom, starting with the door, the walls and the toilet itself, and this article offers a general step-by-step guide on how to do just that for nearly any budget.
Related: How to soundproof on a budget
Who should soundproof their bathrooms?
Many people can benefit from having a soundproofed bathroom, even if they aren’t frequently hosting guests.
For those who work from home, having a soundproofed bathroom can be the difference between a peaceful work haven and a distraction hub full of strange, interruptive sounds.
Light-sleepers can also benefit from soundproofing as no one enjoys being awoken in the middle of the night by an errant flush, especially if your toilet normally sounds like it’s haunted.
Soundproofing is doubly essential for those living in a household of shy bathroom-goers who would prefer a bit more privacy on the other side of the door during their daily routine.
It doesn’t require a lot of skill or a large renovation, meaning it’s possible to complete at low cost even for the least handy person.
Most supplies are readily available at local hardware stores or via online distributors such as Amazon. The options are endless and so are the advantages of having a private place to handle your business.
Related: Cheapest way to soundproof a basement ceiling
Steps to soundproof your bathroom
Step 1: Soundproofing the Door
A majority of bathroom noises can escape through the door since interior doors are often constructed of hollow material and not built for sound resistance.
Changing a door for a thicker hardwood model can be a hassle so it’s more feasible to work with the one you already have in place.
There are several quick fixes for this first task that are much more cost-effective, however.
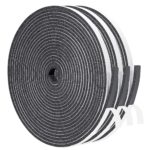
Add weatherstripping
Weatherstripping helps seal in the cracks in the doorframe that can emit sounds and it functions to absorb more noise.
A roll of weatherstripping tape is generally inexpensive and installation usually takes no more than a half-hour as it doesn’t require a single tool except for scissors.
Since the material was originally created to keep the elements out of homes, it also works wonders at preventing the spread of air-borne noises and most versions are self-adhesive.
Simple cut it to measure very carefully, peel off the backing and apply it all around the inside of the doorframe where it meets the door to form a nice, tight seal.
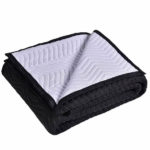
Alternatively, you could also place a soundproofing blanket over the door but these aren’t nearly as aesthetically pleasing.
There are several versions of these blankets on the market, however, so there is sure to be one to suit everyone’s tastes.
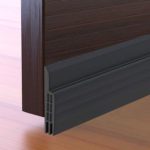
Add door sweeps or draft stoppers
Now that the gaps in the doorframe are taken care of, it’s time to tackle the one beneath the door.
Doors need to open and close easily so there is quite often a space between them and the floor where a lot of sound leaks through.
This issue can be resolved by placing an easy-to-install door sweep. Door sweeps are made to stop dirt and wind from sneaking under doors and are effective at blocking sounds with their thick bristles or rubber paneling.
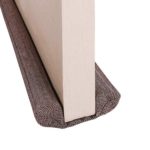
For those concerned that door sweeps could possibly damage their floors, then there are also draft stoppers which essentially function in the same capacity.
These are generally just as effective, slide smoothly over floors and leave no scratches in their trail.
They also take less than five minutes to install and for those looking to economize their time, this could be a better option.
Step 2: Soundproofing the walls

So you’ve sealed up your bathroom door, which should hopefully cut down its noise emission by half, but what the thin walls?
Just like interior doors, interior walls are frequently hollow and generally uninsulated, allowing a cacophony of sounds to echo through them.
Bathroom walls are especially vulnerable as years of exposure to moisture and humidity also make them susceptible to cracking over time.
Let’s check out the best soundproofing for bathroom walls.
Sealing cracks in the wall
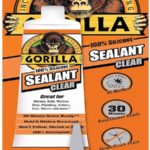
Small cracks in walls can be easily repaired with a liberal coat of joint compound sealant, making sure to apply a few inches more on all sides of the crack to ensure complete coverage.
Let it dry for a day before adding a second coat and allowing that layer a day to dry as well. When a hard coat has formed, the seal is now ready to be sanded down until smooth, at which point it can be decorated over.
In lieu of using a joint compound sealant, some prefer to use acoustic caulk as it never shrinks or cracks over time like its counterpart, nor does it change shape or lose its flexibility.
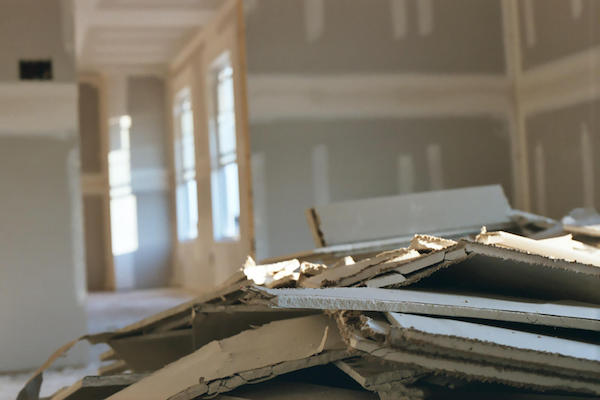
Adding a dry wall
This is typically the most costly part of soundproofing a bathroom since it generally entails hiring professional assistance and is not a task to be undertaken lightly single-handedly.
It is the most effective method for soundproofing a bathroom, though, and for those willing to spend a pretty penny, it will yield the most significant results.
Adding additional mass to walls helps dampen the sounds projected through them and adding a layer of soft material between layers of drywall helps increase their noise resistance. The more layers added, the better the soundproofing.
For those who would rather do this themselves as opposed to enlisting a professional, it’s highly recommended to remove the original drywall before applying any new layers.
The original insulation might need to be replaced as it may have degraded with time, particularly in humid conditions.
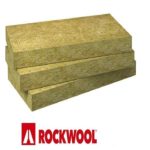
By removing this, you’ll also have more space in the stud cavity to work with in case you would like to add better soundproofing insulation, such as mass-loaded vinyl or acoustic mineral wool in between layers.
Make sure to also carefully measure how much material you’ll need and then buy extra to ensure you don’t run out in the middle of your project.
All these materials can easily rack up a steep bill so this also something to keep in mind.
Other Sound Dampening Techniques
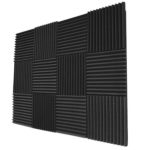
Cheaper than getting a professional to apply another layer of drywall to your bathroom is adding some acoustic foam to the walls.
Foam panels are inexpensive, are much easier to install than drywall and come in a variety of colors and patterns so they won’t detract too much from the bathroom’s decor.
These are also a great option for those who like the aesthetic of wallpaper and want the added benefit of noise insulation.
Still, due to their material, foam panels might not be the best for all bathrooms, in which case fabric paneling is more often preferred.
These are pieces of hardwood wrapped in fabric that can be used to line walls, resulting in excellent sound reduction even if they are a bit pricier than the foam versions.
These can look quite elegant, are available in different textures and all the hardware you’ll need for installation typically comes right in the box.
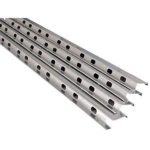
Nevertheless, the best soundproofing for bathrooms, and admittedly the most expensive, is adding resilient channels to accompany the drywall.
Resilient channels are sheet metal rails within the walls that are attached to the wood frame of the room and are supposed to lay over the insulation and support the drywall.
Aside from being known for being tough, they’re also shock-resistant and are very effective at blocking impact noises since they help dissipate sounds.
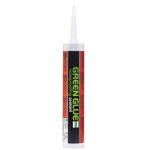
They’re a worthwhile investment for those whose pocketbooks can afford them but if you plan to install these, you might as well add in some quality insulation and green glue compound to get more bang for your buck.
Related: How to make a soundproof box
Step 3: Soundproofing the floor
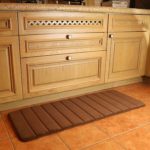
Another quick and cost-effective fix for a noisy bathroom is adding sound-absorbing mats to the floor.
Although bathroom floors aren’t usually the biggest culprits behind loud sounds, they are generally tiled which means noises can easily reverberate below them.
An easy solution would be to add thick rugs, preferably ones made specifically for the bathroom as they are less likely to accumulate mold.
Aim to buy the plushiest, fluffiest mats you can find as they’ll be easy on your ears and your toes. Rubber mats are generally the most sound-absorbing so they’re also a good option.
Once again, bigger is better so try to purchase some that cover more area.
Step 4: Soundproofing the toilet
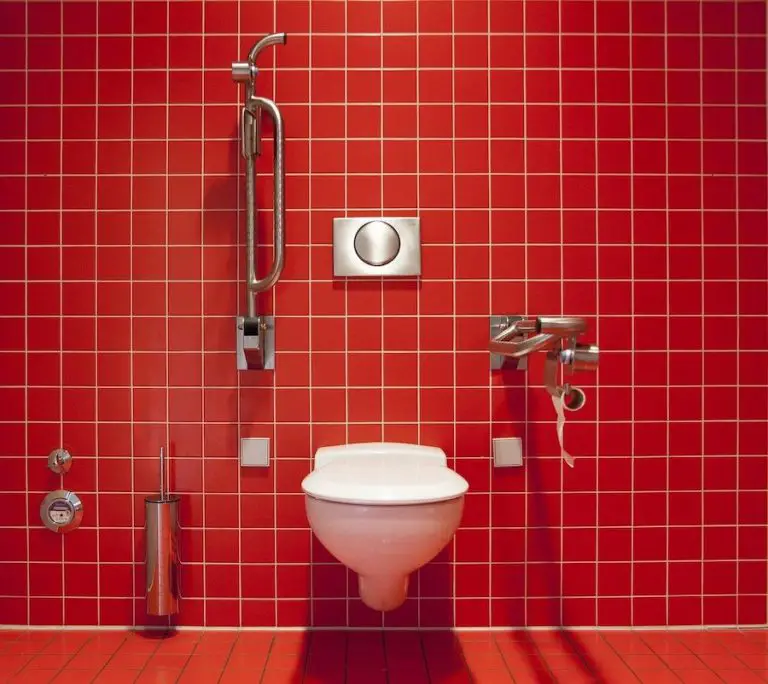
Soundproofing the Lid and Seat
Toilets lids accidentally slamming loudly shut is a common occurrence and one that is easily preventable by adding a toilet lid cover as well as a seat cover.
These will help to dampen sounds when the lid hits the tank or falls back onto the seat.
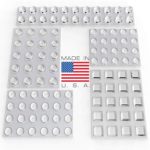
For those who are turned off by the appearance of toilet lid covers, self-adhesive silicone pads are a great second option and they are simple to apply.
Just place one on the toilet tank where the toilet seat usually hits it when raised and then add a few more to the underside of the seat to mute its impact with the toilet when it goes back down.
Soundproofing the flush
Let’s be honest, this is often the most distracting bathroom sound but thankfully it’s also one of the easiest to silence.
Remove the lid of your toilet tank and ensure that the inside of the lid is clean and dry.
Then take some adhesive tape and apply to the inside edges of the lid before firmly replacing it on the toilet tank.
With a tighter fit and less open gaps, the toilet tank should produce fewer noises in the future.
It’s also possible to use adhesive foam instead of tape for an even quieter flush by placing some on the outer rim of the toilet tank.
Others with particularly noisy toilets might opt to cover the entire tank with adhesive foam panels for extra sound dampening.
Soundproofing the pipe
First, verify that the toilet’s water valve is set correctly as toilets can make a lot of noise if this isn’t properly handled.
Tighten or loosen the valve as necessary until you find the ideal setting for your toilet.
Also, verify that the water inlet is clamped tightly to the wall by tightening its screws to stop it from needlessly rattling.
This might not reduce toilet sounds by much but it’s still a necessary measure.
More often than not, however, the noisiness of a tank refilling comes typically originates from an issue with the pipes.
Yet wrapping some insulation around the pipes is easier said than done as this often involves tearing down the drywall around the toilet to access its pipes.
Again, reapplying drywall might require the aid of a professional if you aren’t inclined to do it yourself but, with this step complete, you’re essentially done soundproofing your bathroom.
Simply use some mass-loaded vinyl for the most effective method of quieting clamorous pipes.
Recommended gear
Here is a comprehensive list of some of the gear you’ll need to soundproof your bathroom with ease and all are readily available through Amazon. Click on the images to check their pricing and specifications.
Weatherproofing tape
Soundproof blanket
Door sweep
Draft stopper
Mass Loaded Vinyl (MLV)
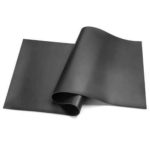
Mass Loaded Vinyl (MLV)
Silicone pads
Sound absorbing mat
Resilient channels
Acoustic foam
Sealant
Acoustic caulk
Frequently Asked Questions (FAQ)
What kind of weatherstripping should I use?
Weatherstripping can be made of foam but for bathrooms, which are typically humid, it’s best to use rubber weatherstripping.
Can I apply drywall myself even if I have no experience?
While this isn’t advisable, it is certainly doable as there are many online sources that can teach you how to do this on your own. You’ll need to gather all the appropriate material and plan out your course of action carefully to avoid making any mistakes.
I really want to soundproof my bathroom but can’t afford to spend too much. What are the cheapest options?
The cheapest options to effectively soundproof a bathroom are sealing the cracks in the doorframe with weatherstripping, adding a draft stopper below the door, placing a cover on the toilet lid, and/or placing sound-absorbing mats on the floor.
These methods shouldn’t strain your pocketbook and are also the fastest options. Some people have talked about using egg cartons for soundproofing, which is really cheap. But before doing so, check our article first.
Related: Egg carton soundproofing myths
I think my shower is very noisy, is there any way to soundproof it?
Try to reduce the water pressure in the shower by installing a low-flow showerhead. If you can afford it, removing the drywall to be able to insulate the pipes is also a useful suggestion.
The air vent in my bathroom is loud, can I seal permanently seal it?
This is not recommended as humid places such as bathrooms require ventilation to prevent the growth of mold.
On the other hand, you can cover the vent with a soundproofing blanket or place some acoustic foam inside the vent to muffle the sound of its airflow.
Related: How to make your PS4 quieter
How to soundproof your bathroom: Conclusion
Soundproofing your bathroom can be as quick and cheap or costly and in-depth as you want to make it but it doesn’t have to an overnight process.
Not everything needs to be soundproofed at once as home improvement is generally a long-haul activity and some steps require a lot of preparation.
Take your soundproofing one step at a time and you’re bound to hear the difference.
Whenever and however you decide to soundproof your bathroom, rest assured there are options even for the most shoestring budget. Your future peace of mind will surely be worth any expense you spare now.
Additional resources:

Hi there, great article, so many options to soundproof my room! Especially during times like these these when many of us are working from home so the tips come in super handy.
Just a question, I came across a product called Acousti-coat by a company called Hy-Tech. It’s straightforward to use but do these paints actually work?
Looking forward to hear from you!
Hi Arthur, glad that the articles here helped you out!
Acousti-coat is one of the most trusted soundproof paint for consumers, and there are rave reviews on e-commerce sites like Amazon.
I have personally used it previously to paint my garage and the results were impressive.
If you refer to the section above titled “What gear will you need”, you will find a mention of this brand of paint, and you can click through to find out more about it.
Thanks and good day ahead!